Charcoal Grilling for Beginners
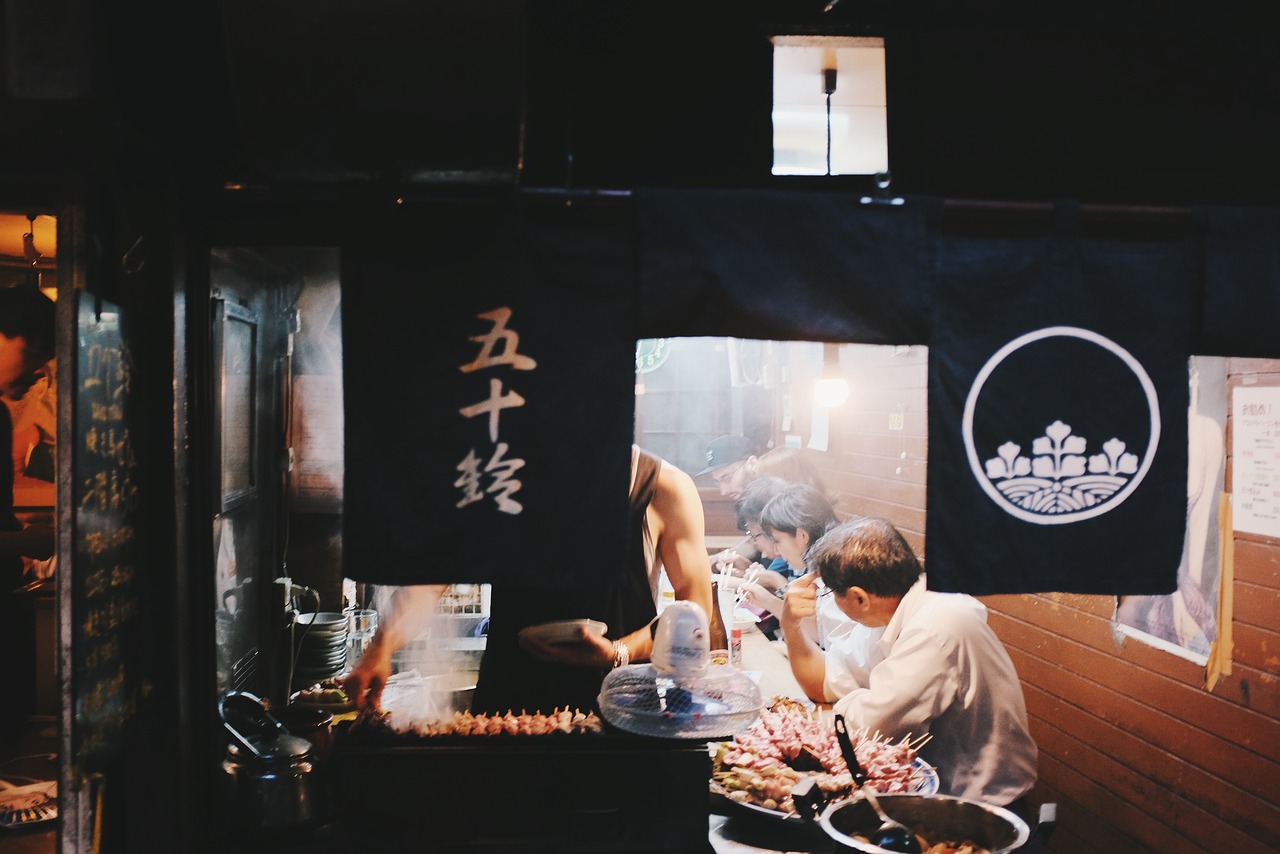
We fire kilns for a living. Most of what we sell leaves Indonesia in containers bound for importers, distributors, and restaurant groups, but the questions we get asked most often are the simple ones, and they come from people standing in front of a grill for the first time. This guide is charcoal grilling for beginners written by the people who make the fuel, not by a brand trying to sell you a lifestyle. If you understand how charcoal actually behaves when it burns, you make better food, you waste less fuel, and you buy smarter. That last point matters whether you are cooking for a family or placing a first order for a shop.
We are going to walk through the fuel itself, how to light it, how to control the heat, and the mistakes that cost new grillers their first few cooks. We will also be honest about the trade, because the person importing charcoal needs the same knowledge as the person burning it.
What Charcoal Grilling For Beginners Really Comes Down To
Strip away the equipment and the recipes and grilling with charcoal is three things: a fuel that stores a lot of heat, air that controls how fast that heat is released, and distance between the fire and the food. Everything else is detail. People new to this tend to focus on the grill itself, the brand, the accessories. The fire does not care about any of that. It cares about carbon, oxygen, and time.
Charcoal is wood that has been heated in a low oxygen kiln until the water and volatile gases are driven off, leaving mostly carbon. That is the whole point of making it. Raw wood burns with flame, smoke, and an unstable temperature because it is still releasing moisture and gas. Charcoal has already paid that cost in the kiln, so it burns hot, steady, and clean. If you want the longer version of how that happens, we wrote it up in how charcoal is made, forest to kiln.
So charcoal grilling for beginners is really the practice of managing stored carbon heat. Good charcoal gives you a long, even release. Poor charcoal gives you a short, spiky burn full of dust and sparks. The difference is set long before the fuel reaches your grill, which is why the fuel you choose is the first real decision.
Choosing Your Fuel
There are three categories a beginner will meet, and they behave differently enough that picking the wrong one for the job is the most common early error.
Lump charcoal
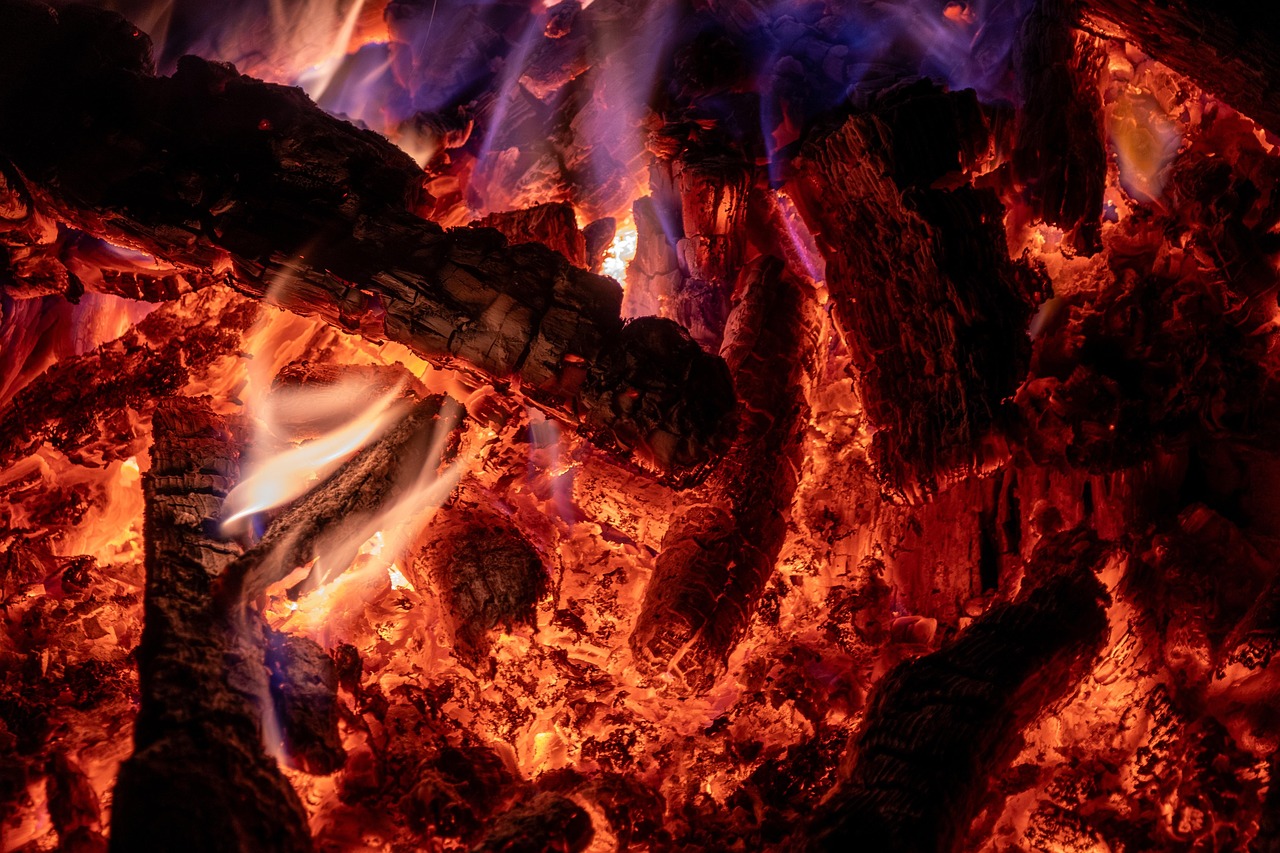
Lump is charcoal in the natural shape of the wood it came from. No binders, no shaping, just carbonised hardwood broken into pieces. It lights faster than briquettes, burns hotter, and responds quickly when you open or close the air. That responsiveness is exactly what you want when you are learning, because the fire tells you what it is doing almost immediately.
The trade-off is that lump burns less evenly than a pressed product. Pieces vary in size, so some catch faster than others, and a bag will always have some small fragments at the bottom. For most beginners, good hardwood lump is still the best place to start. It is forgiving in the way that counts: it does what you ask quickly, and it does not fill the food with off flavours. Our own view on grades and sizing is in the lump charcoal buyers guide, and the broader category page is hardwood charcoal.
Briquettes
Briquettes are charcoal fines compressed into uniform pillows, usually with a small amount of binder to hold the shape. Because every piece is the same size and density, they burn at a predictable rate for a predictable time. That makes them excellent for long, low cooks where you want to set a temperature and leave it. The cost is a slower light and, with lower grade products, additives that can taint the food. A clean briquette made from pure charcoal fines and a natural binder is a fine product. A cheap one full of filler is not.
If you plan to cook low and slow, briquettes earn their place. For a first cook over direct heat, they are more fuel than you need and slower to get going.
Binchotan and white charcoal
Binchotan is the premium end. It is a white charcoal fired at very high temperature, dense, almost metallic when you tap two pieces together. It burns long, steady, and with very little smoke or flame, which is why yakitori and robata kitchens build their reputations on it. It is also the hardest fuel for a beginner to light and the least forgiving if you rush it. We would not start anyone here. Once you understand fire, though, it is worth the step up, and you can read what it actually is in what is binchotan charcoal or on the binchotan charcoal page.
For most people learning the craft, the honest recommendation is clean hardwood lump first, briquettes when you move to long cooks, binchotan once you have the fire under control.
Lighting The Charcoal
More first cooks are ruined here than anywhere else, almost always by lighter fluid. Petroleum fluid soaks into the charcoal, burns off unevenly, and leaves a chemical taste that no amount of good meat will hide. You do not need it. The two reliable methods both use air instead of accelerant.
A chimney starter is the simplest. You fill a metal cylinder with charcoal, put a sheet of paper or a natural firelighter underneath, and light it. The chimney shape pulls air up through the coals, so within ten to fifteen minutes the top pieces are glowing and ashed over. Then you tip them into the grill. That is it. No fluid, no flavour problem, and you can see exactly when the fuel is ready.
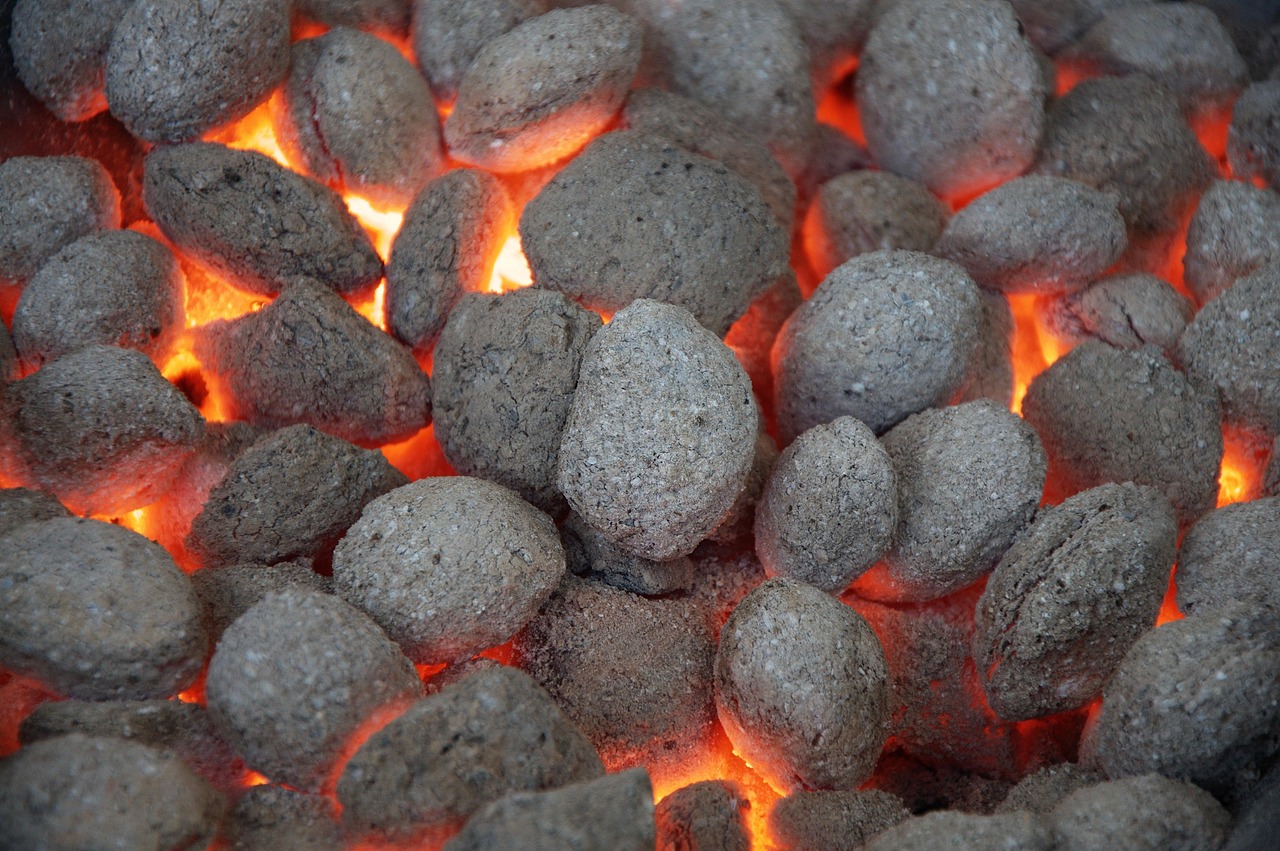
The second method is a loose pile or a lighter cube nested in the charcoal, which works but lights less evenly. Whichever you use, the rule is the same: wait until the coals are covered in a light grey ash before you cook. Black charcoal with flames licking off it is not ready. It is still burning off its surface and the heat is unstable. Ashed grey coals are at a steady temperature and that is what you cook over. For a step by step on this with a natural product, see how to light lump charcoal.
Give yourself time. Charcoal is not a gas burner. From cold to cooking is fifteen to twenty minutes for most lump, longer for briquettes and much longer for binchotan. Lighting late and cooking early is how beginners end up with raw food over a dying fire.
Setting Up Heat Zones
Here is the single technique that will improve your cooking faster than anything else: do not spread your coals evenly across the whole grill. Bank them to one side.
When the coals sit under half the grill, you get a hot direct zone right over the fire and a cooler indirect zone beside it. Now you have options. You sear over the direct heat, then move the food to the indirect side to finish cooking through without burning the outside. A chicken thigh that would char on the surface and stay raw at the bone over a single hot fire cooks perfectly when you sear it, then slide it across to cook gently through.
This two zone setup is the whole reason charcoal beats a flat gas burner for many cooks. The fire is not one temperature, it is a range, and you move the food through that range. Thin, fast foods like prawns or thin steaks stay over the direct heat. Thick cuts and anything with bone start or finish on the indirect side.
Control the overall temperature with the vents. A charcoal grill breathes: air comes in at the bottom, passes through the coals, and leaves at the top. Open the vents and the fire gets more oxygen and burns hotter. Close them down and you starve it and the temperature drops. Make small adjustments and wait, because the fire responds with a lag of a few minutes. Beginners tend to slam the vents fully open or shut and then chase a temperature that keeps overshooting. Nudge, then wait.
Reading The Fire
You do not need a thermometer to know how hot a charcoal fire is, though one helps on the lid. The old hand test works: hold your palm a few inches above the grate and count how long you can keep it there comfortably. Two or three seconds is a hot fire for searing. Five or six is a medium fire. Longer than that and you are into the gentle heat for slow cooking.
Watch the coals too. Bright, ashed grey with a visible glow is peak heat. As the cook goes on the glow dims and the ash thickens, and the heat falls with it. This is where fuel quality shows itself. A dense hardwood charcoal holds its heat for a long, flat stretch before fading. A light, dusty product flares up fast and dies just as fast, which gives you a narrow window and a stressful cook. How long you actually get depends on the charcoal and the setup, and we broke that down in how long does charcoal burn.
If you need more time, add fuel before the fire dies, not after. Fresh charcoal laid onto a live bed catches from the heat already there. Waiting until the coals are nearly out means relighting from almost nothing, which costs you twenty minutes and a cold grill.
Common Mistakes In Charcoal Grilling For Beginners
A short list of what we see go wrong, because avoiding these is most of the battle.
Using lighter fluid. Covered above, but worth repeating because it is the one that ruins the food directly. Switch to a chimney and the problem disappears.
Cooking too early. The urge to put food on the moment the coals light is strong. Resist it. Grey ash, not black lumps with flame.
A single flat bed of coals. Without a cool zone you have nowhere to retreat when the outside is done and the inside is not. Bank the coals.
Lifting the lid constantly. Every time the lid comes off, the heat escapes and the temperature drops. On longer cooks, trust the setup and leave it shut.
Buying on price alone. A cheap bag of charcoal full of dust and small fragments burns fast, sparks, and forces you to refuel mid cook. The fuel is the one variable you set before you even light up, so it is worth getting right. Moisture is a big part of this, and damp charcoal is a false economy we explain in charcoal moisture content and burn quality.
Get these five right and you are past the stage where most people give up. The food follows.
What Charcoal Grilling For Beginners Means For Your Order
Now the part aimed at the buyers reading this, the importers and distributors and private label brands. If you are putting charcoal on a shelf or into a restaurant, the questions above are your customers' questions, and the answers shape what you should stock.
The beginner who picks up your bag wants a fuel that lights without fluid, ashes over predictably, and holds its heat long enough to finish a cook. That points you toward clean hardwood lump with consistent sizing and low fines, packed dry so it reaches the shelf ready to burn. A product that sparks, smells of chemicals, or burns out in twenty minutes gets returned and remembered. The fuel does your marketing for you, in either direction.
This is why we care that a first time griller understands the fire. A customer who knows what good charcoal feels like becomes a repeat buyer of good charcoal. If you are sourcing for that customer, start at our bbq charcoal hub, which lays out the range and the use cases, and look at restaurant charcoal if your buyers are kitchens rather than households. For anyone building their own label around this, the consistency we have been describing is exactly what a private brand lives or dies on.
The link between the person at the grill and the person signing the purchase order is tighter than it looks. Both want the same thing: carbon that burns the way it should, every time, from a kiln that runs to a standard. That is the whole business, on both ends.
Recap
Charcoal grilling comes down to a good fuel, controlled air, and distance between the fire and the food. Start with clean hardwood lump because it is forgiving and responsive. Light it with a chimney, never fluid, and wait for grey ash before you cook. Bank your coals to one side so you have a hot zone and a cool zone, and steer the heat with small vent adjustments. Read the fire by eye and by the hand test, and refuel before the bed dies rather than after. Avoid the five common mistakes and the food takes care of itself.
For buyers, the lesson is the same seen from the other side: the beginner's experience is set by the quality of the fuel you stock, so stock fuel that lights clean and burns long. When you are ready to match product to market, start at /bbq-charcoal and work from there.
Source it directly
BBQ Charcoal, factory direct.
Serious BBQ needs charcoal that holds temperature through a long cook without flooding the food in smoke. Our hardwood BBQ charcoal is built exactly for that.