How to Light Lump Charcoal Without Lighter Fluid
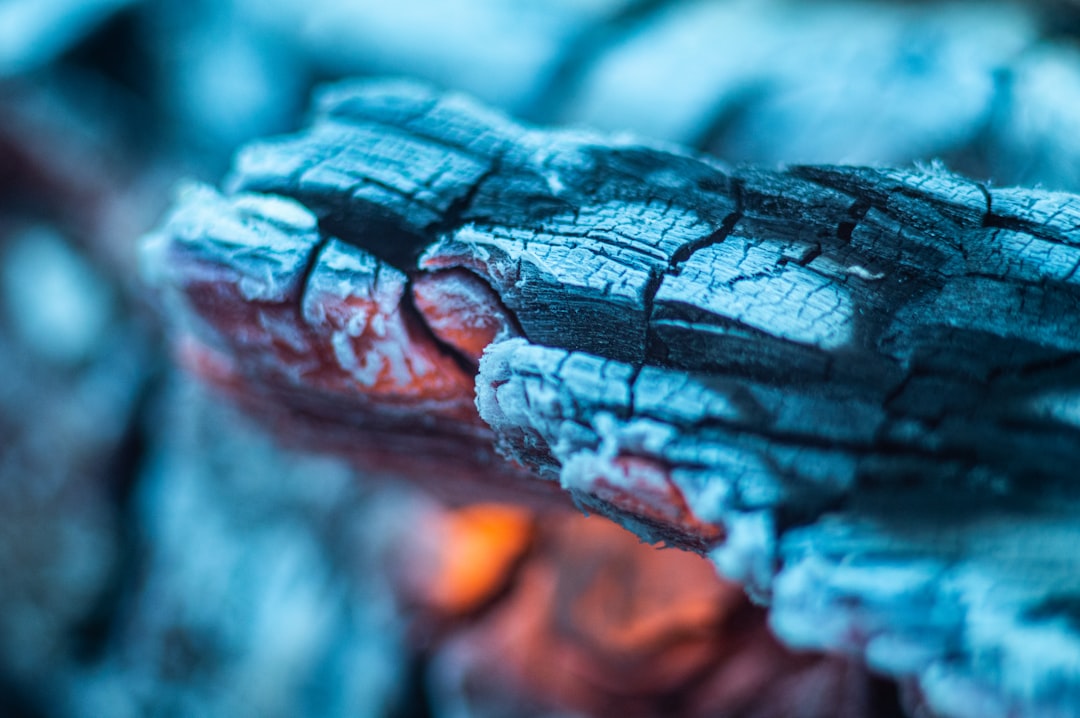
Lighter fluid is the wrong way to start a fire that you plan to cook over. It leaves a chemical taste on the first few minutes of food, it burns off unevenly, and it teaches people that lump charcoal is hard to light when the truth is the opposite. We run kilns for a living, and we watch buyers struggle with fuel that should catch in minutes. So this is a plain guide on how to light lump charcoal without any accelerant, written from the kiln side of the trade rather than the marketing side. If you sell charcoal, import it, or cook over it every service, the method matters as much as the product.
Good lump charcoal wants to burn. That is the whole point of it. It is wood that has already been through the fire once, driven down to almost pure carbon, so the second time you light it there is very little left to resist the flame. The reason people reach for lighter fluid is almost never the charcoal itself. It is technique, airflow, or moisture. Fix those three things and you will never touch a squeeze bottle again.
Why Lump Charcoal Lights Faster Than Briquettes
Lump charcoal is carbonised wood and nothing else. There are no binders, no starch, no borax, no coal dust pressed into a pillow shape. When we char hardwood in the kiln, we drive off the water, the sap, and the volatile gases until what remains is a light, black, ringing piece of almost pure carbon. That piece has an open structure full of tiny channels where the original wood grain used to be. Those channels are why lump breathes so well. Air moves through the piece, not just around it, and fire needs air more than it needs anything else.
Briquettes are the opposite. They are compressed, dense, and bound together with material that has to burn off before the charcoal underneath will take. That is why briquettes are slower to light and slower to reach heat. If you have only ever cooked over briquettes, your instinct about lighting times is calibrated wrong, and that miscalibration is exactly what sends people to the fluid bottle. We wrote more about the split between the two in our piece on hardwood charcoal versus briquettes, and it is worth reading if you are deciding what to stock.
The practical takeaway is simple. When you know how to light lump charcoal properly, you are working with a fuel that is already trying to help you. Your job is to give it a starting point and a path for air, then get out of the way.
The One Thing That Ruins Every Method: Moisture
Before any technique, deal with moisture, because wet charcoal defeats every lighting method ever invented. Charcoal is porous, and porous things drink water out of the air. A bag stored on a damp warehouse floor, or left open in a humid kitchen, will pull in moisture until the pieces feel heavier than they should and light like green wood.
You can hear the difference. Dry lump rings when two pieces knock together, a clean, almost ceramic sound. Damp lump sounds dull and dead. You can feel it too. Dry lump is startlingly light for its size. If a piece feels heavy and cold, it is holding water, and that water has to boil off before the carbon will catch. That is wasted time and wasted fuel, and it is the hidden reason behind half the fires that will not start.
For anyone moving volume, this is a storage and packaging question, not just a lighting one. We go deep on it in charcoal moisture content and burn quality, because for a restaurant or a distributor it is the difference between fuel that performs and fuel that generates complaints. Keep bags sealed, keep them off concrete, keep them out of the rain. Do that and lighting becomes easy. Skip it and no method in this guide will save you.
How To Light Lump Charcoal, Step by Step
Here is the core method, the one we come back to every time. This is how to light lump charcoal with a chimney starter, which is the most reliable approach for almost everyone, from a home cook to a busy grill station.
A chimney starter is a metal cylinder with a grate near the bottom and a handle on the side. Charcoal goes in the top. A fire starter goes underneath. That is the entire tool, and it works on physics, not chemistry.
Step one: fill the chimney with lump. Do not crush the pieces down or pack them tight. Lump is irregular by nature, and those gaps between pieces are the air channels you need. A loose fill lights faster than a tight one every time.
Step two: put a natural fire starter under the chimney. A paraffin or wood-wool starter cube works. So does a sheet or two of newspaper, lightly crumpled, not balled up hard. The starter only has to burn long enough to get the bottom layer of charcoal going. It does not have to light everything at once.
Step three: light the starter and leave it alone. Here is the part people get wrong. They peek, they poke, they lift the chimney to check. Do not. The chimney works because hot air rises through the cylinder and pulls fresh air in from the bottom, and that draught marches the fire upward through the charcoal on its own. Every time you disturb it, you break the draught. Set it down on a safe, non-flammable surface and wait.
Step four: watch for the top. In roughly ten to fifteen minutes with good dry lump, you will see flames or grey ash appear at the top pieces. That is your signal. When the coals on top are edged with grey ash and glowing underneath, the whole load is lit.
Step five: pour and arrange. Tip the lit charcoal into your grill or firebox and arrange it for the cook you want, whether that is a hot even bed or coals banked to one side for two-zone cooking. Now you build your fire the way the food needs it, with clean-burning fuel and no chemical smell.
That is the full sequence, and once you have done it twice it becomes second nature. Knowing how to light lump charcoal this way removes lighter fluid from the equation permanently, and it gives you a consistent start time you can actually plan a service around.
The Top-Down Method For A Grill Without A Chimney
Not everyone has a chimney starter, and you do not strictly need one. The top-down fire, sometimes called the Minion-style start for longer cooks, works directly in the grill or smoker and gives you a slow, controlled burn.

Build a bed of unlit lump across the bottom of your firebox. On top of that bed, place your fire starter and a small handful of smaller lump pieces. Light the top. The fire starts at the surface and works its way down slowly into the unlit fuel beneath it. Because only a portion of the charcoal is burning at any moment, you get a long, steady output rather than a fast, hot flash. This is the method to reach for when you are cooking low and slow and want hours of stable heat rather than a quick sear.
The top-down approach also wastes very little. You are not lighting all your fuel at once and racing to use it before it burns out. If you run a kitchen and care about yield per bag, this method and the chimney method both respect your fuel in a way that dousing a pile in accelerant never will. For choosing the right grade for these longer cooks, our guide on how to choose BBQ charcoal for low and slow covers what to look for.
The Torch Method For Speed
If you need heat fast and you have a propane or butane torch, this is the professional shortcut. Many yakitori and robata cooks light this way because it is direct and quick.

Lay your lump in the grill or in a starter box. Aim the torch flame at one spot, or a few spots, for thirty to sixty seconds each. You are not trying to light every piece with the torch. You are creating three or four hot ignition points and letting the fire spread from them. Once those points are glowing, set the torch aside and let airflow carry the burn across the bed. Give it a few minutes and the whole bed comes up to heat.
The torch method rewards good charcoal. Dense, high-carbon lump takes the flame and holds it. Damp or low-grade fuel will smoke and sputter under a torch and take far longer than it should. This is one more reason grade and dryness matter. The same principle applies with even denser fuel, which is why our separate guide on how to light binchotan charcoal treats it as its own skill, since binchotan is so dense it needs an open flame or a gas burner to start at all.
Mistakes That Send People Back To Lighter Fluid
We see the same errors again and again, and each one convinces someone that lump is difficult when it is not.
Packing the charcoal too tightly. Fire needs air. When you cram lump into a chimney or press it flat in a firebox, you close off the channels that carry the draught. Leave the gaps. Irregular, loose-packed lump lights faster than a neat dense pile.
Impatience. Lump lights faster than briquettes, but faster is not instant. Give the chimney its ten to fifteen minutes. Poking and lifting only sets you back. The fire is working even when you cannot see much happening.
Too little starter, or too much. One or two starter cubes, or a sheet or two of paper, is enough under a chimney. A giant wad of paper burns out in a flash of flame before the charcoal catches. A steady, modest flame that lasts a couple of minutes beats a big one that dies in seconds.
Wrong grade for the job. Small chips and fines light quickly but burn out quickly. Large, dense pieces take a little longer to catch but hold heat far longer. Mixing sizes on purpose, small pieces to catch and large pieces to sustain, gives you both. Our overview of hardwood lump charcoal grades explains how sizing affects both lighting and burn time, which matters most when you are buying by the container.
Cold, damp fuel. We keep coming back to this because it is the root cause of most failed fires. Store it dry, and lighting problems mostly disappear on their own.
What This Means If You Are Buying Charcoal, Not Just Burning It
For importers, distributors, and restaurant buyers, lighting behaviour is a quality signal, not a cooking detail. When a batch of lump lights fast and clean without accelerant, it tells you the charring was done properly and the moisture is under control. When a batch fights you, smokes, and needs coaxing, something upstream went wrong, either in the kiln or in storage and transport.
This is why we treat lighting as part of quality control rather than an afterthought. A restaurant buyer who lights a sample and times it is learning more about the product than any spec sheet will tell them. If the coals are up and grey in a predictable window every time, the kitchen can build a service around it. If the times swing wildly bag to bag, the fuel is inconsistent and the kitchen pays for it in wasted minutes and uneven cooking. We describe what we check before a container ships in our note on charcoal quality control before shipping.
Consistent lighting is also a private-label and restaurant-supply concern. If you are putting your own name on a bag, the first thing your customer judges is whether it lights. A product that starts fast without fluid builds trust immediately. That is a big part of why we point restaurant buyers toward dense, dry, correctly graded hardwood lump rather than whatever is cheapest by the tonne, because the cheap option costs more once you count the failed starts.
The short version for buyers is this. How a charcoal lights is a window into how it was made. Fuel that lights clean and predictable is fuel that was charred right and kept dry. That is the standard worth buying against, and it is the standard worth holding a supplier to.
Recap
Lighter fluid is a workaround for problems that good technique and good charcoal solve on their own. Skip it. Keep your lump dry and store it sealed and off the floor, because moisture defeats every method. Use a chimney starter for the most reliable start, a top-down fire for long slow cooks, or a torch when you need heat fast. Pack loose so air can move, use a modest fire starter, and give the fire the ten to fifteen minutes it needs without poking at it. Match the grade to the job, small pieces to catch and large pieces to sustain. Do these things and lump lights every time, clean and fast, with no chemical taste on the food.
If you want to see the grades and sizing we produce, and understand what makes a batch light well and burn long, start with our hub on lump charcoal. It is the best next step whether you are buying a pallet or a container.
Source it directly
Natural Lump Charcoal, factory direct.
Nothing added, nothing pressed, nothing hidden: lump charcoal is simply hardwood transformed by fire. Its quality depends entirely on the wood and the kiln, which is why ours starts in the forest.